just thought i would share something crafty i have been up to. i have been up to alot of crafty things which i really enjoy alot but im also trying to tread carefully...
both in terms of managing my time, and also that i will not take pride in these things. really need God's help!
this is what i did for my sisters-to-be on my big day!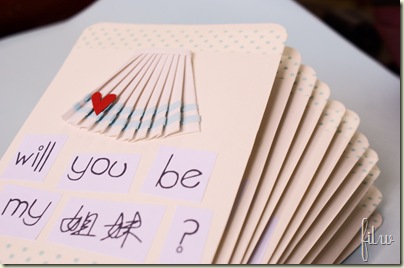
here's a little tutorial! you need:
1) PAPER - i like the kind from popular where you have to weigh the paper before making your purchase. they have a nice texture :) you will need 4 colours: for the base of your card, the colour of the skirt, the lines that hem the skirt, and red colour for the heart.
2) double-sided tape - the thick foamy/flat kind, both will do.
3) glue
4) scissors
4) a cutter to round the corners of the card would be a nice touch :)
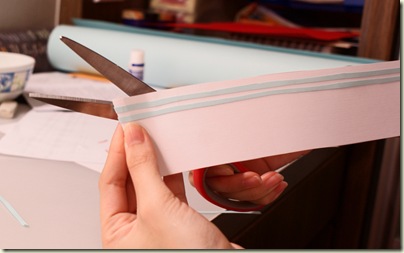
cut a strip of paper for the skirt. estimated size 5 cm by 21cmv(the width of A4 paper). after that, cut thin little strips of blue paper to line the bottom of the strip. estimated thickness - 3mm. glue the two strips on the white strip of paper.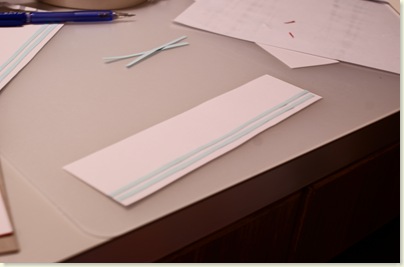
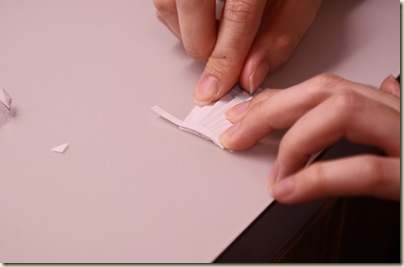
fold the edge slightly crookedly (sorry i don't know how else to express this, hope the picture helps!
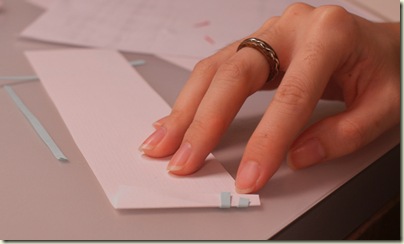
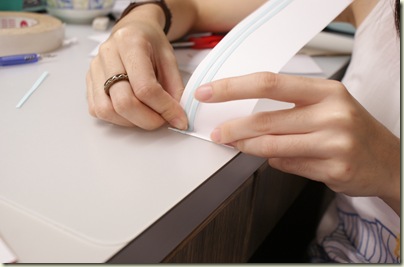
snip off the little corner at the bottom that will be sticking out from the front.
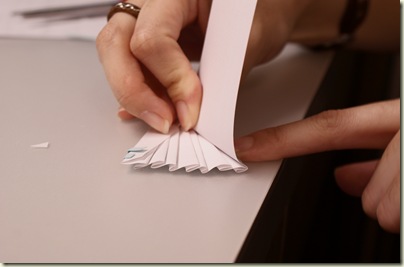
now the folding starts! note, your aim is to get the blue strips curl nicely in a wide 'u'. as you fold, allocate more space to the bottom as compared to the top of the skirt. this requires practice so you can try it with scrap paper first :)
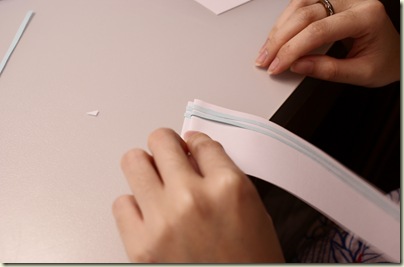
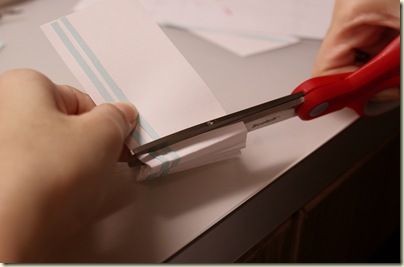
fold fold fold! :) after about 8-9 pleats, fold the strip of paper backwards.
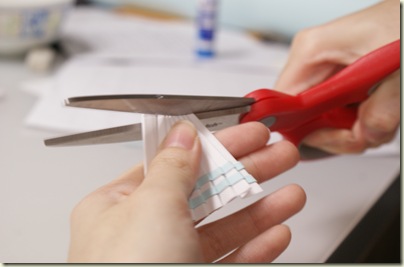
cut!
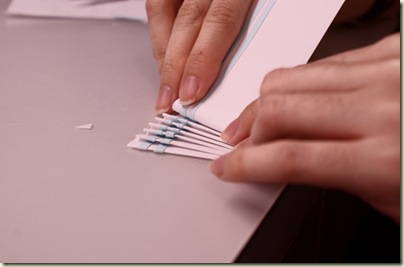
depending on the outcome of your skirt, snip off the top to even out the waist (about 0.5cm)
now to make the waist :) cut a strip of paper the same size as the blue lines..put some glue, paste it on the tip of the skirt.
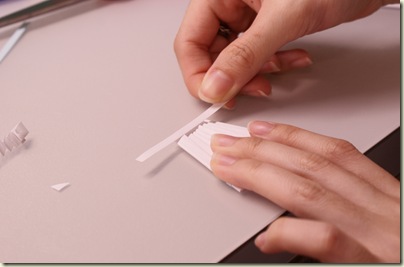
fold the rest to the back of the skirt and use a big piece of double-sided tape to hold everything in place.

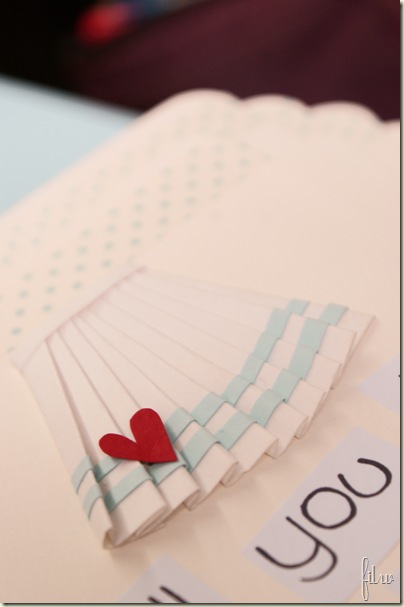
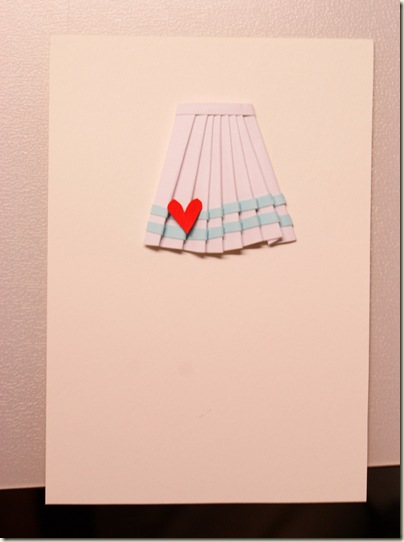
cut a nice little heart from red paper. stick the skirt on the card, and the heart on the skirt :) it will be nice to use the thick foamy kind of tape so there is a "pop-out" effect.
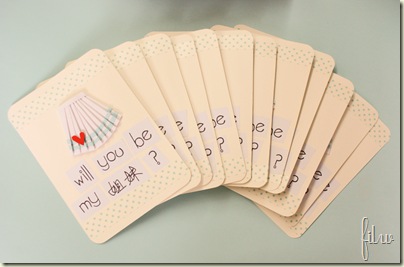
type, print and cut out your question...i used a font called tweed,
available here. add your own message at the back and the masking tape with the same colour combination is a nice touch :) not to forget the rounded corners!
the more i do the cards, the more i think about my sisters...and i am thankful!


